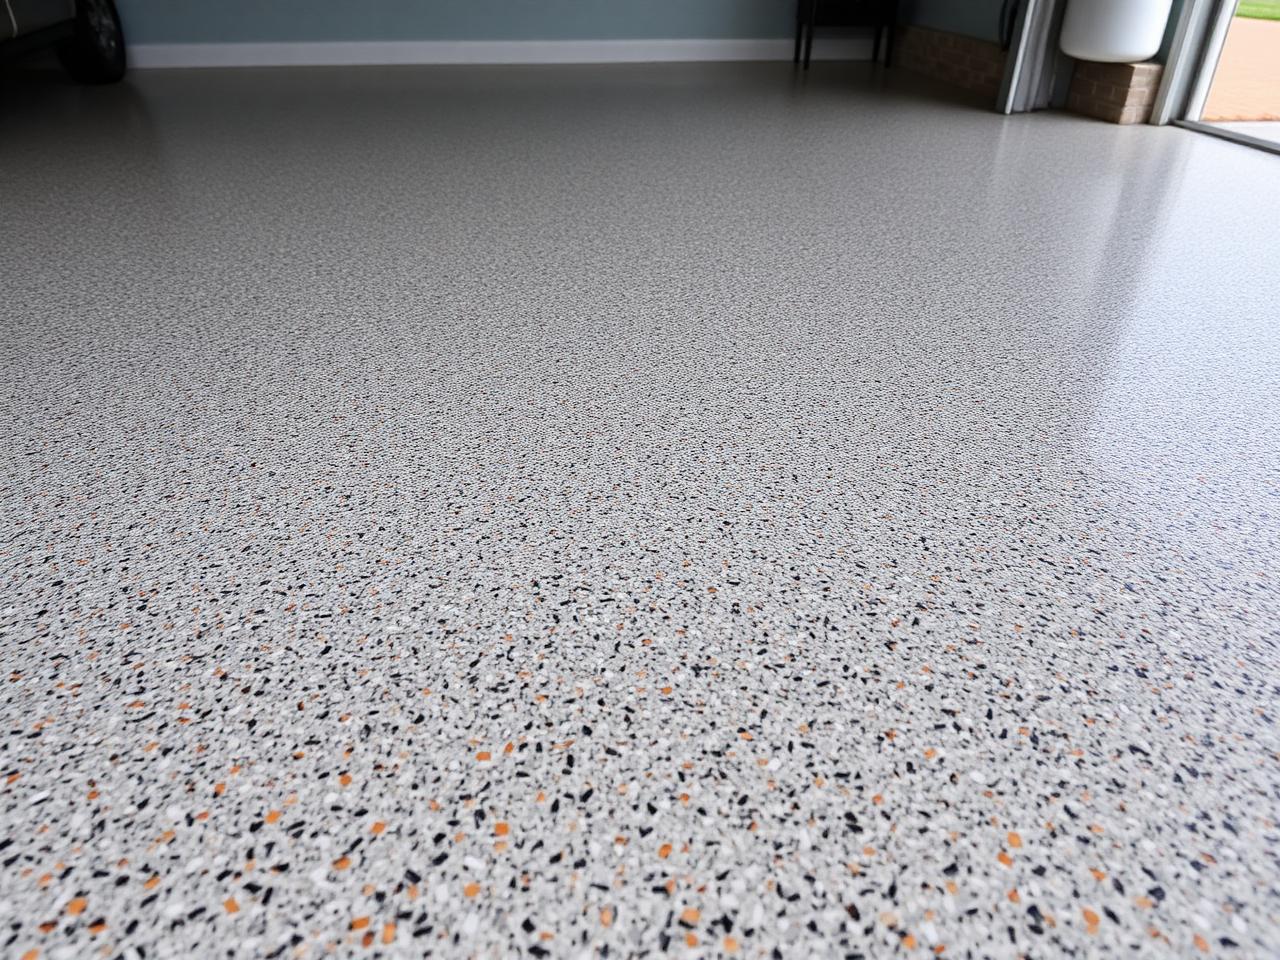
Epoxy Flake combines the structural performance of a 100% solids epoxy base with decorative vinyl flakes broadcast into the wet coat — creating a floor that is simultaneously beautiful, durable, and practical. Available in dozens of color blends for garages, basements, commercial spaces, and more.
Years Experience
0+
Sq. Ft. Installed
0M+
Owner Supervised
0%
Google Rating
0★
The Three Systems
One Product Line. Three Finishes.
Most Popular
Epoxy Flake Flooring
Best For:
Residential garages, basements, commercial spaces
Epoxy Flake delivers exceptional durability and chemical resistance with a decorative finish that hides minor imperfections and adds visual character. Multi-color chip systems with industrial-grade durability.
Install Process
01
Diamond grind and prepare the concrete surface
02
Apply E100-PT1 100% solids base coat tinted with E100 Color Packs
03
Broadcast ColorFlakes — 100% coverage, to rejection
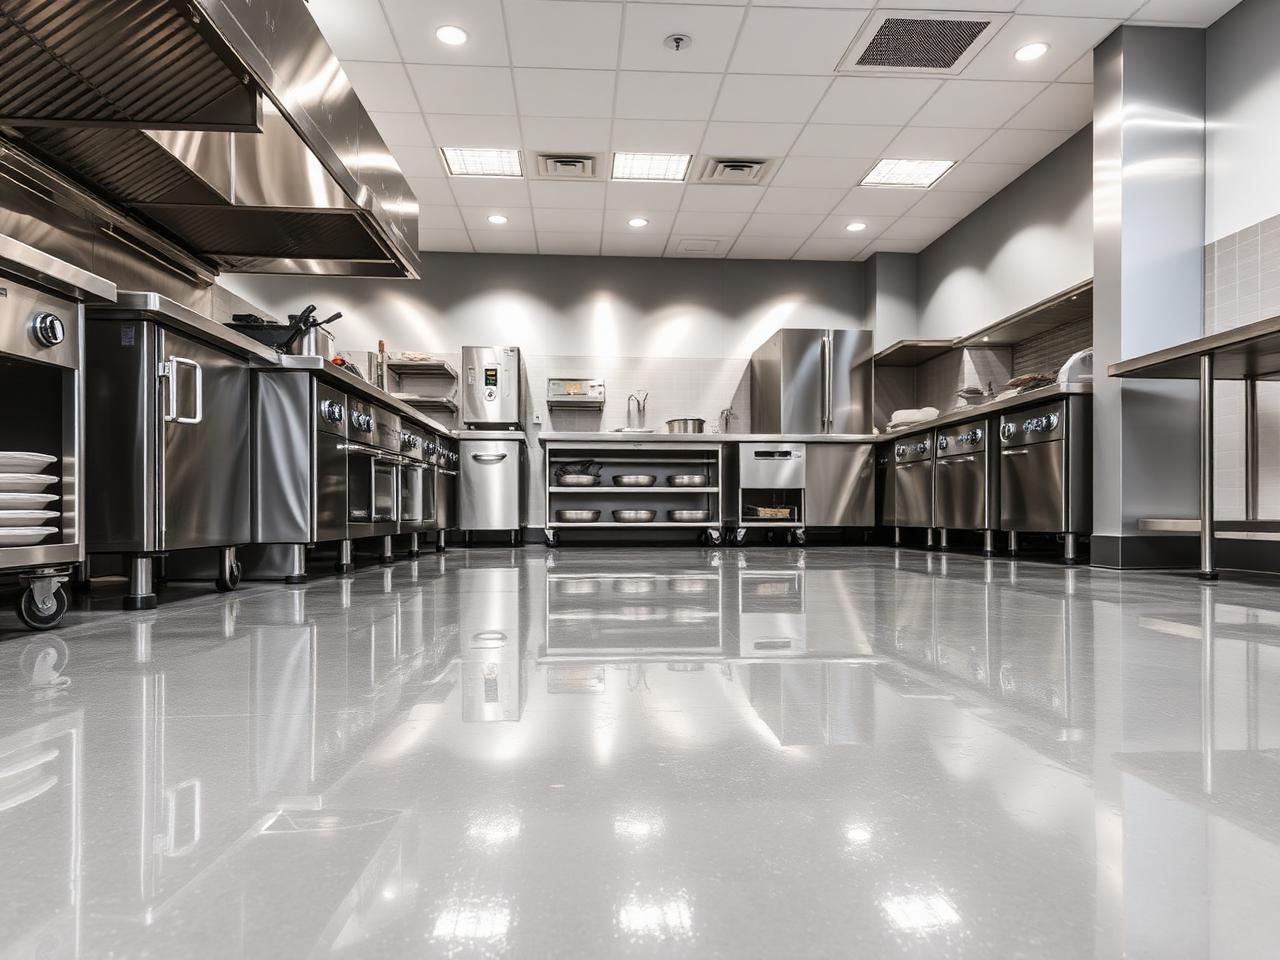
Warehouses, distribution centers, commercial floors
NEAT Epoxy is the high-performance budget option for commercial and industrial floors where maximum durability and a clean solid finish matter more than decorative pattern. Solid color, high-gloss, and built for daily abuse.
Install Process
01
Diamond grind and prepare concrete
02
Apply E100-PT4 100% solids pre-tinted epoxy (solid color coat)
03
Seal with AUS-V Aliphatic Urethane Sealer for UV stability and chemical resistance
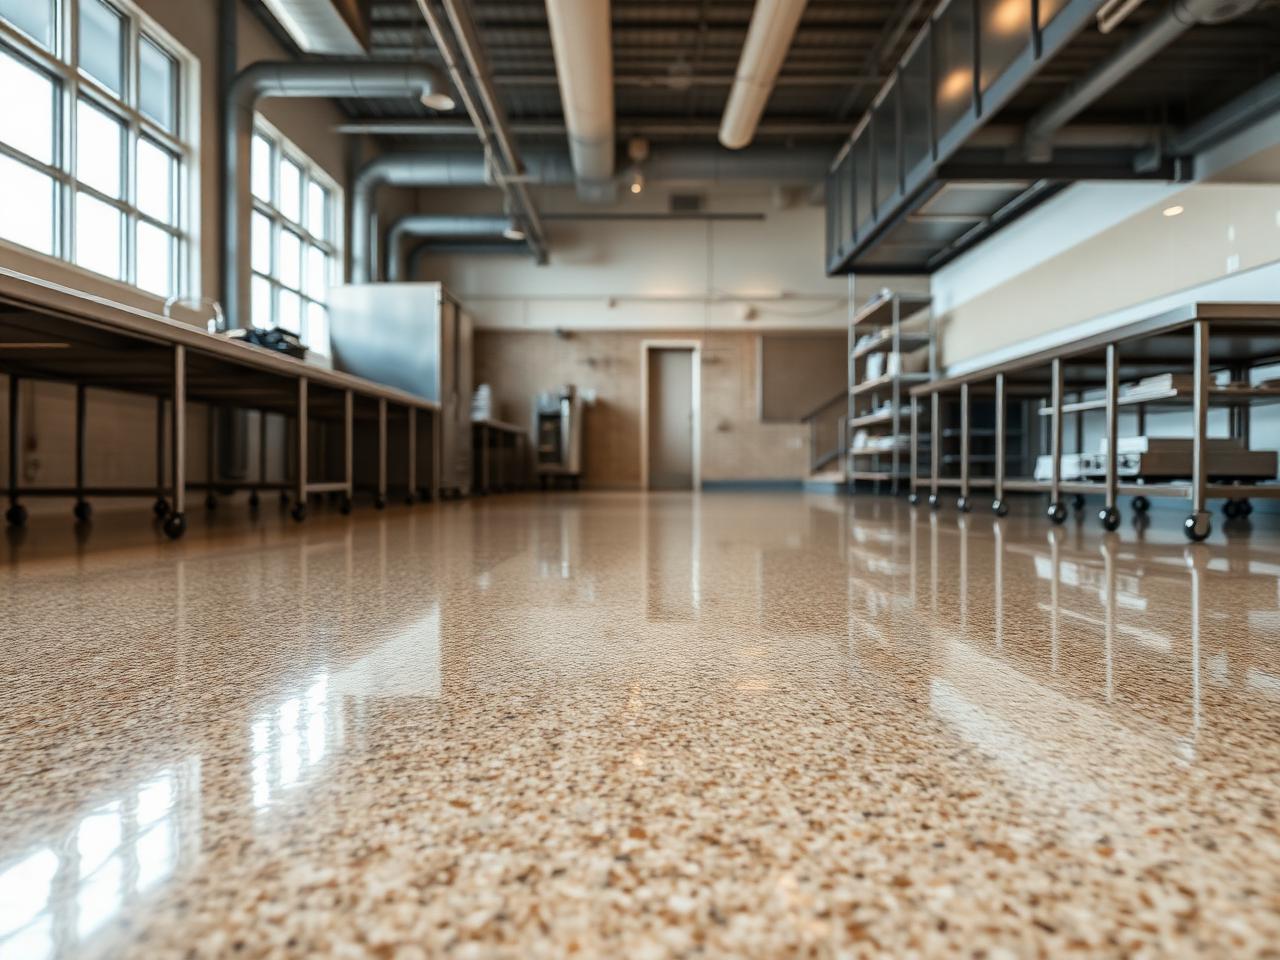
Commercial kitchens, ADA ramps, wet areas, industrial
Epoxy Quartz adds superior slip resistance to an already-durable system — making it the required choice for wet environments, health code compliance, and anywhere safety is non-negotiable.
Install Process
01
Diamond grind and prepare concrete
02
Apply E100-PT1 base coat, broadcast ColorQuartz sand to rejection (1st coat)